As the sun begins to cast its warm glow on the earth, gardeners everywhere feel a familiar pull to their outdoor sanctuaries. The excitement of planting season stirs in the air, but before the seeds can be sown, there is one crucial task that stands between anticipation and action: garden soil preparation. For many, this step is often brushed aside, but seasoned gardeners understand that nurturing the earth beneath their feet is what truly lays the groundwork for a bountiful harvest.
The Importance of Quality Soil
The difference between a thriving garden and a struggling one often lies in the quality of the soil. Well-prepared soil not only provides essential nutrients but also ensures proper drainage and aeration, allowing roots to grow deep and strong. When soil is neglected, it can lead to poor plant health, stunted growth, and even pest infestations. Understanding how to prepare soil effectively can change the gardening experience from frustrating to fulfilling.
Assessing Your Soil Type
Before diving into the preparation process, it’s essential to assess the existing soil type. Garden soil can generally be categorized into three main types: sandy, clay, and loamy. Sandy soil drains quickly and may require more frequent watering, while clay soil holds moisture but can become compacted. Loamy soil, often considered ideal, balances both properties.

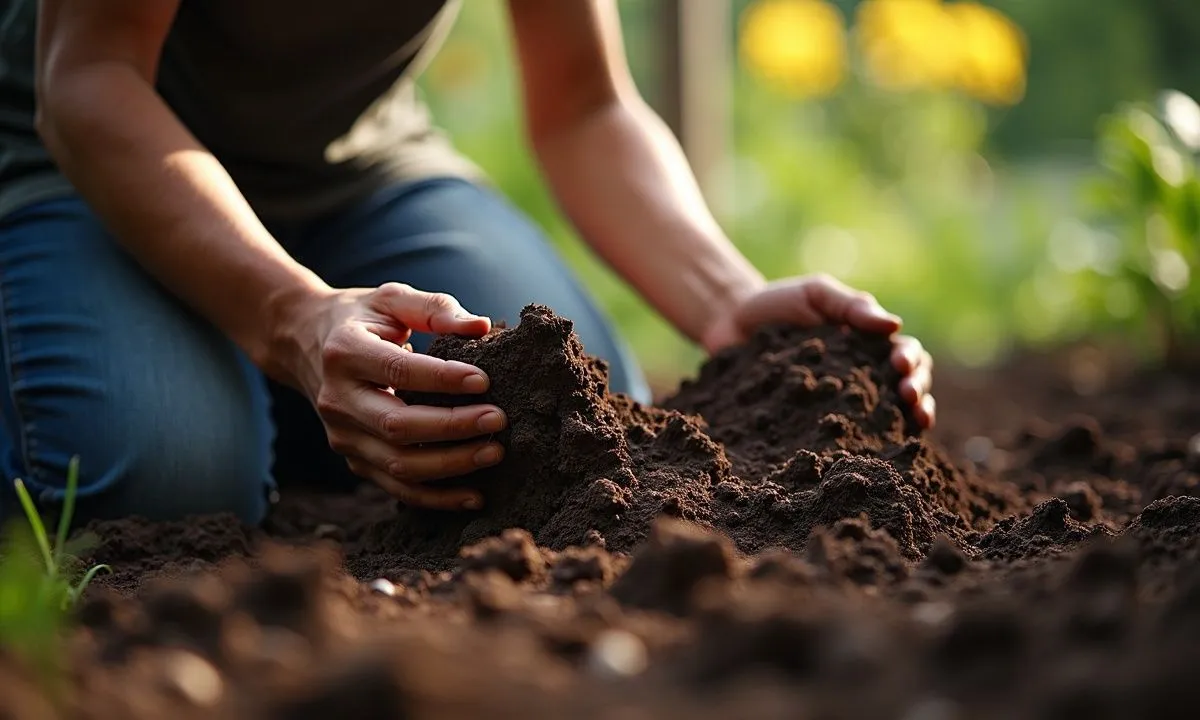
To determine your soil type, take a handful of damp soil and squeeze it. If it holds its shape and feels sticky, you likely have clay. If it falls apart easily and feels gritty, you have sandy soil. A balanced texture will feel crumbly and hold its shape but will not be overly wet or dry. Knowing your soil type can inform the amendments needed for optimal growth.
The One Method Pros Swear By
Among the various approaches to garden soil preparation, one method stands out for its effectiveness and consistency: the double digging technique. While it may require more effort up front, the long-term benefits are well worth it. This method involves loosening the soil to a depth of 12 to 18 inches, encouraging deeper root growth and improving aeration.
How to Double Dig Your Garden Bed
To begin, select a designated area for your garden bed. Mark out the dimensions, and then remove the top layer of soil about six inches deep. Set this layer aside. Next, dig deeper into the subsoil, breaking up any compacted areas and removing stones or debris. This is where the real magic happens, as loosening the soil allows for better drainage and root expansion.

After you have prepared the subsoil, return to the top layer you set aside. Before placing it back, consider adding organic matter such as compost, well-rotted manure, or leaf mold. This addition will enrich the soil with nutrients and beneficial microorganisms. Once mixed, replace the top layer, ensuring it’s evenly distributed.
Incorporating Organic Matter
Organic matter plays a vital role in soil health. It improves structure, increases moisture retention, and enhances nutrient availability. As you prepare your garden soil, aim to incorporate at least 25% organic matter into your existing soil. This can be achieved through composting kitchen scraps, yard waste, or sourcing materials from local farms.
Consider creating a compost pile in a corner of your yard. Over time, kitchen scraps, grass clippings, and dried leaves will break down into rich compost, ready to nourish your garden. Not only does this method recycle waste, but it also creates a sustainable loop that benefits both your garden and the environment.
Timing Your Soil Preparation
Timing can significantly impact the effectiveness of your soil preparation. Ideally, you should begin the process several weeks before planting. This allows the organic matter to integrate fully into the soil, creating a nutrient-rich environment for your plants.
In cooler climates, it’s wise to prepare the soil in early spring or late fall. Warmer regions might find success with summer preparation, allowing for a fall planting. Regardless of your location, observing the soil's condition and making adjustments based on seasonal changes will lead to better results.
Testing Soil Nutrients
Once your soil is prepared, consider conducting a soil test. Many local agricultural extensions offer testing services, providing insights into pH levels and nutrient content. Understanding whether your soil is too acidic, alkaline, or balanced can guide you in selecting the right plants and amendments.
For example, if your soil test reveals low nitrogen levels, you might choose to plant nitrogen-fixing crops like legumes. Conversely, if the soil is too acidic, adding lime can help raise the pH, creating a more hospitable environment for your plants.
Maintaining Soil Health
Soil preparation doesn’t end once the plants are in the ground. Ongoing maintenance is key to sustaining soil health. Practices like crop rotation, cover cropping, and mulching can protect the soil from erosion, suppress weeds, and maintain moisture levels. Each year, consider reapplying organic matter and conducting another soil test to monitor changes.
Additionally, being mindful of your watering practices can prevent soil compaction. Water deeply but infrequently, allowing the soil to dry out slightly between sessions. This encourages plants to develop strong root systems that can better access nutrients and water.
Real-World Applications and Success Stories
Gardeners across the country share stories of their successes achieved through diligent soil preparation. One urban gardener in a concrete-heavy neighborhood turned a small patch of bare earth into a flourishing vegetable garden. By employing the double digging technique and adding compost from her kitchen scraps, she transformed the soil into a vibrant ecosystem where tomatoes, peppers, and herbs thrive.
In rural areas, farmers have adopted similar methods, emphasizing the importance of soil health in sustaining their crops. Those who invest time in preparation often see higher yields and better resilience against pests and diseases. The investment in soil preparation pays off year after year, creating a cycle of abundance.
Seasonal Considerations
As seasons change, so do the needs of your garden soil. In fall, consider planting cover crops such as clover or rye. These plants not only prevent erosion but also improve soil structure and add nutrients when tilled back into the soil come spring. This method also helps in suppressing weeds and providing habitat for beneficial insects.
In winter, protect your garden bed with a layer of mulch. This will insulate the soil, preventing freeze-thaw cycles that can damage soil structure. A good layer of mulch also retains moisture and breaks down over time, adding organic matter back into the soil.
A Lasting Relationship with Your Soil
Understanding garden soil preparation is not just about the immediate planting season. It’s about cultivating a relationship with the land that nurtures your plants. Each year brings new lessons and opportunities to improve upon your methods. By investing time and effort into preparing your soil, you create a foundation for growth that can yield beautiful gardens and abundant harvests.
As you get ready for the upcoming planting season, remember that the earth beneath your feet deserves as much attention as the seeds you wish to sow. Your garden soil preparation sets the stage for everything that follows, making it a vital part of the gardening journey. Embrace the process, and allow your connection with the soil to flourish just as your plants will.


Comments (0)
No comments yet. Be the first to comment!
Leave a Comment